
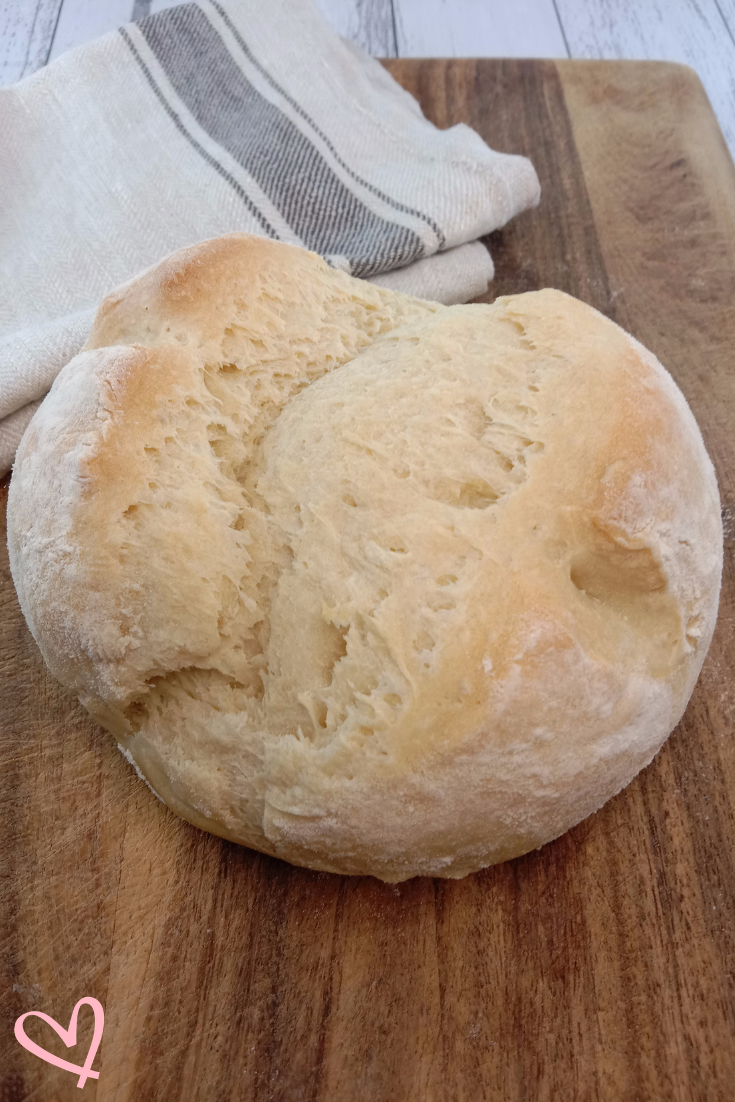
Easy Homemade Bread!
This delicious and simple homemade bread recipe is the best bread you’ll ever eat! Made with only 4 simple kitchen ingredients, (no fillers, no preservatives, no colours or additives just good ol’ flour, water, yeast & salt) it is perfect straight out of the oven, toasted or even frozen.

Pin me 👆🏼 to save for later!
During Quarantine, this bread recipe was one of my favourites!
Since we hadn’t left the house in months, there was no bread in sight! So, one day, I decided to experiment with ingredients and ended up making a delicious loaf of bread! How yummy!
Pin me 👆🏼 to save for later!
What’s so great about this recipe is that it is practically foolproof! It is so easy to make, even If you’ve never made bread before, and needs to fancy equipment!
What I also love about it is how it is completely customisable to your own taste! For me, I love eating my bread with strawberry jam, peanut butter, avocado or butter.
However, this recipe is the base for creativity! You can add whatever you want!

Pin me 👆🏼 to save for later!
Easy Homemade Bread!
Prep Time: 15 Mins Wait Time: 2 Hrs 15 Mins Bake Time: 40 Mins
4 Ingredients | 2 Loaves Of Bread
INGREDIENTS:
1 ½ Cups warm water (Make sure this water is hotter than 30° but cooler than boiling water)
¾ Tablespoon sea salt
¾ Tablespoon yeast (I use granulated yeast, but you can also use active, dry, instant or quick-rise yeast.)
3 ¼ Cups all purpose or plain flour (don’t use self-raising since it may cause the bread to collapse.)
DIRECTIONS:
1. Combine the water, sea salt and yeast in a bowl, mixing with a wooden spoon.
2. Add the flour (no need to sift) by using a knife to scrape the excess flour off the cup. Try not to press the flour or shake the cup, otherwise the measurement could be inaccurate.
3. Using the wooden spoon, combine the mixture.
PLEASE NOTE: This mixture should be sticky. You do not need to use your hands at this point.
4. Cover the bowl and place in the fridge for 2 hours to allow the dough to rise.
5. After 2 hours, remove the dough from the fridge and place it on a floured surface. Using your hands, lightly knead the dough into 2 balls.
6. Set the oven to 180° Celsius.
7. Place one ball in an airtight container for later use and the other ball of dough into a bowl and cover. Place it in the fridge for another 15 minutes to allow it to rise.
8. Remove from the fridge and place on a prepared baking tray covered with baking paper.
9. Add or cut any designs into the dough.
10. Bake in the oven for about 40 minutes, or until the centre is not doughy. After 40 minutes, check every 5 minutes to ensure the bread does not burn.
11. Serve immediately and enjoy!
NOTE:
The bread dough for this recipe can stay covered and be stored in the fridge for up to 7 days.
If your dough is too sticky, add more flour and vise versa.
Though yeast is rare in every household and can seem like a hassle to buy, I can promise you that it is so worth it! One packet of yeast can last for ages, making you tens of loaves of delicious fresh bread.
Don’t forget to comment, share, and like this post!
LET ME KNOW! WHAT DO YOU HAVE ON YOUR BREAD?
SHARE YOUR THOUGHTS AND QUESTIONS IN THE COMMENTS BELOW!
Share your recreations with me on Instagram @miasteendream using #miasteendream!! I’d love to see what you’re cooking up!
Hi, I’m Mia!

Teen dream celebrates, supports and connects young women of all shapes, sizes, ages, races and beliefs. Our website is dedicated to helping young women find balance in life, become organised, stay…


